[안드로이드 스튜디오] 젯팩 컴포즈 네비게이션 사용법 - 1
1. 환경설정
프로젝트의 build.gradle (:app) 에 navigation 의존성을 추가해준다
1
2
3
4
dependencies {
    implementation(libs.androidx.navigation.ui)
    implementation(libs.androidx.navigation.fragment)
}
2. Navigation graph 제작
res 폴더에서 우클릭하여 New > Android Resource File 클릭

파일 이름 작성하고 Resource type : Navigation 선택하여 생성

방금 생성한 nav_graph.xml 파일을 열고 Design 탭에서 Create new destination 클릭
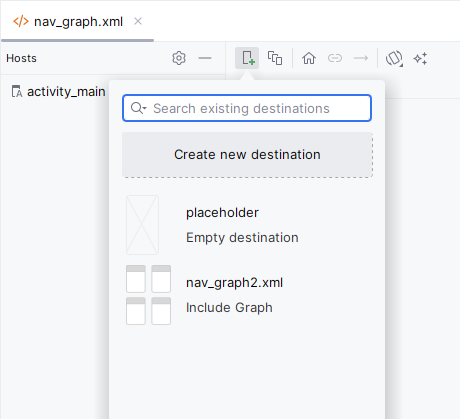
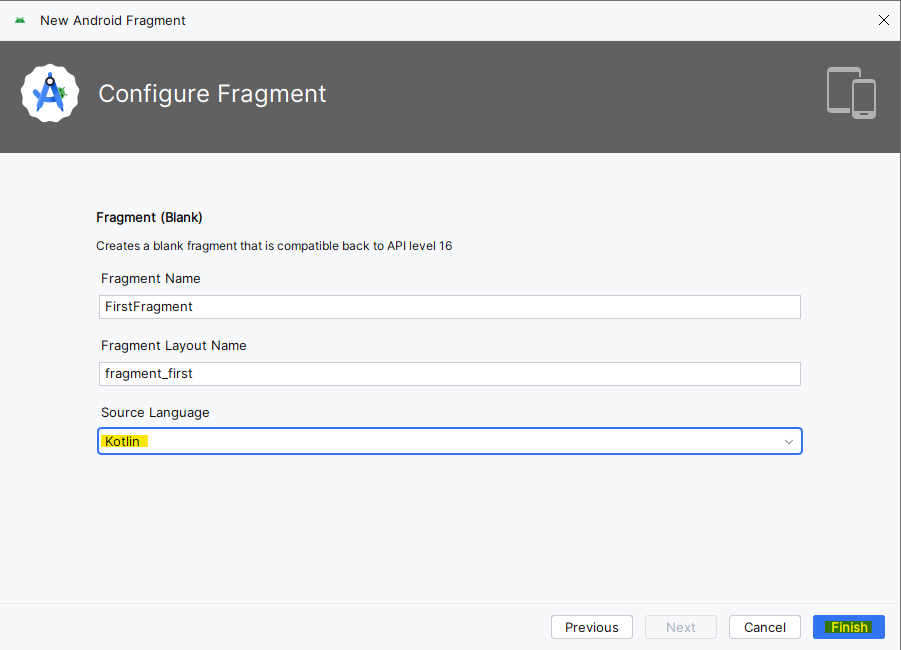
Fragment (Blank) 선택 후 FirstFragment와 SecondFragment를 Kotlin으로 생성
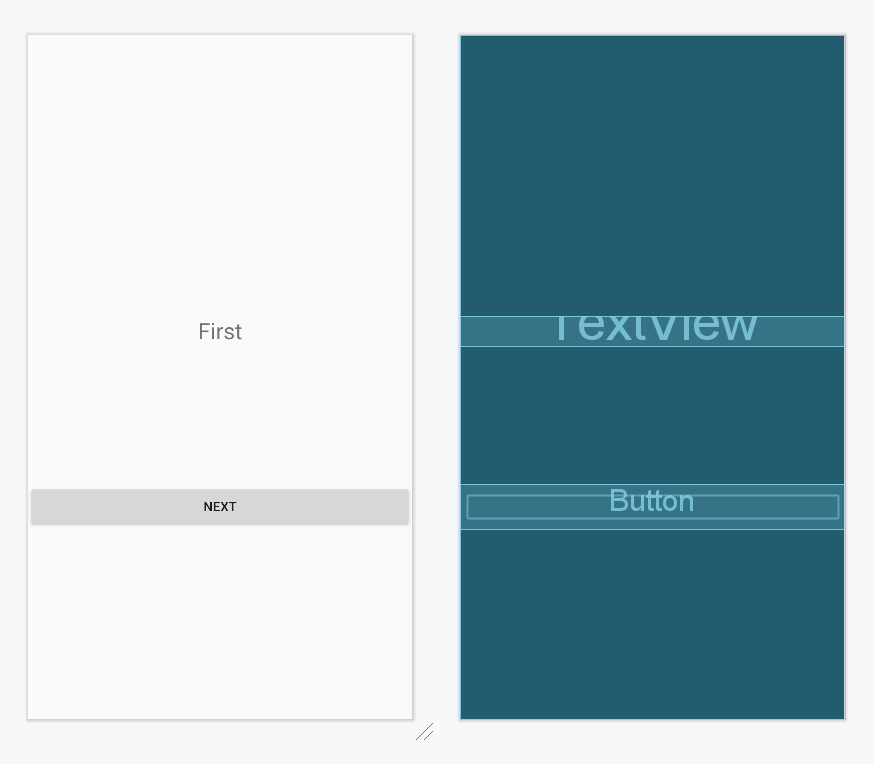
생성된 layout/fragment_first, layout/fragment_second에서
우상단 Design 버튼 클릭 후 텍스트와 버튼 배치

아래는 제가 임의로 배치한 화면과 xml 코드입니다
 fragment_first
1
2
3
4
5
6
7
8
9
10
11
12
13
14
15
16
17
18
19
20
21
22
23
<?xml version="1.0" encoding="utf-8"?>
<FrameLayout xmlns:android="http://schemas.android.com/apk/res/android"
    xmlns:tools="http://schemas.android.com/tools"
    android:layout_width="match_parent"
    android:layout_height="match_parent"
    tools:context=".SecondFragment">

    <TextView
        android:layout_width="match_parent"
        android:layout_height="wrap_content"
        android:text="@string/first_fragment"
        android:textAlignment="center"
        android:textSize="24sp"
        android:translationY="300.dp" />

    <Button
        android:id="@+id/button3"
        android:layout_width="match_parent"
        android:layout_height="wrap_content"
        android:text="@string/button"
        android:translationY="480.dp" />

</FrameLayout>
3. navhost 설정법
이 기사는 저작권자의 CC BY 4.0 라이센스를 따릅니다.